How to Import Contacts into Mailchimp
Created with Trainn AI
Here's a step-by-step walkthrough on how to import contacts into Mailchimp
1. Click on "Quick actions" in the top right.
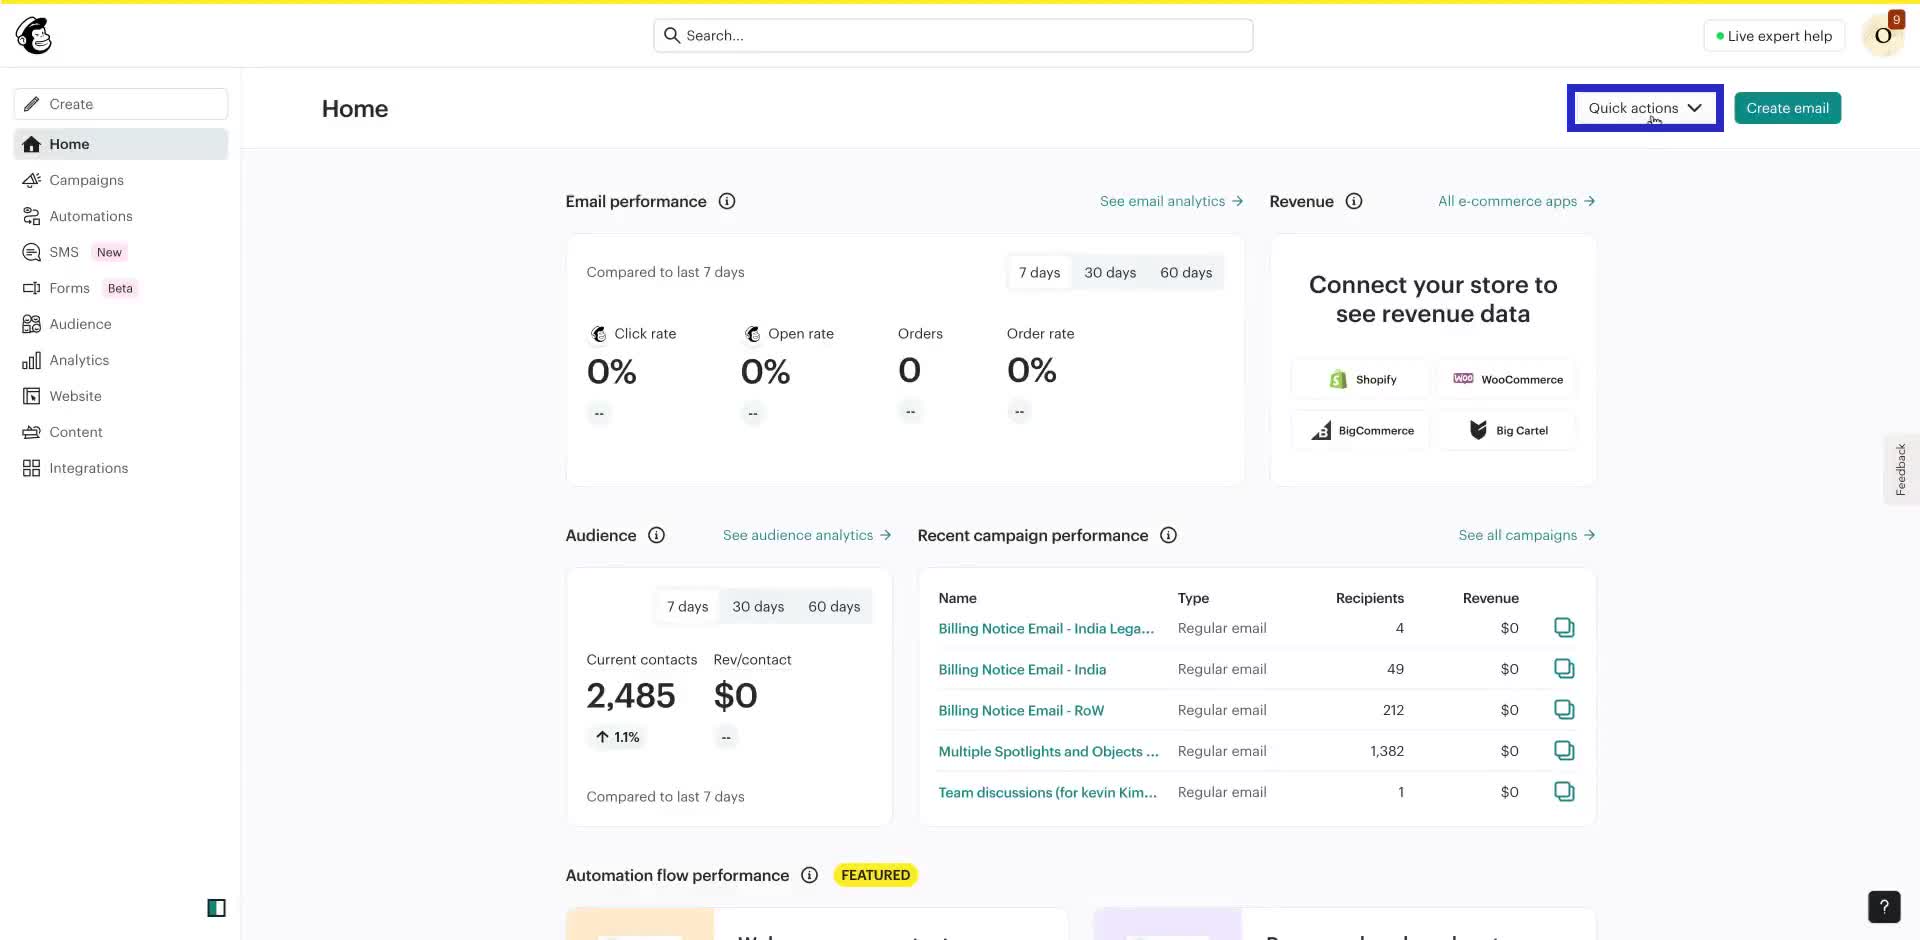
2. Select "Import contacts" from the dropdown menu.

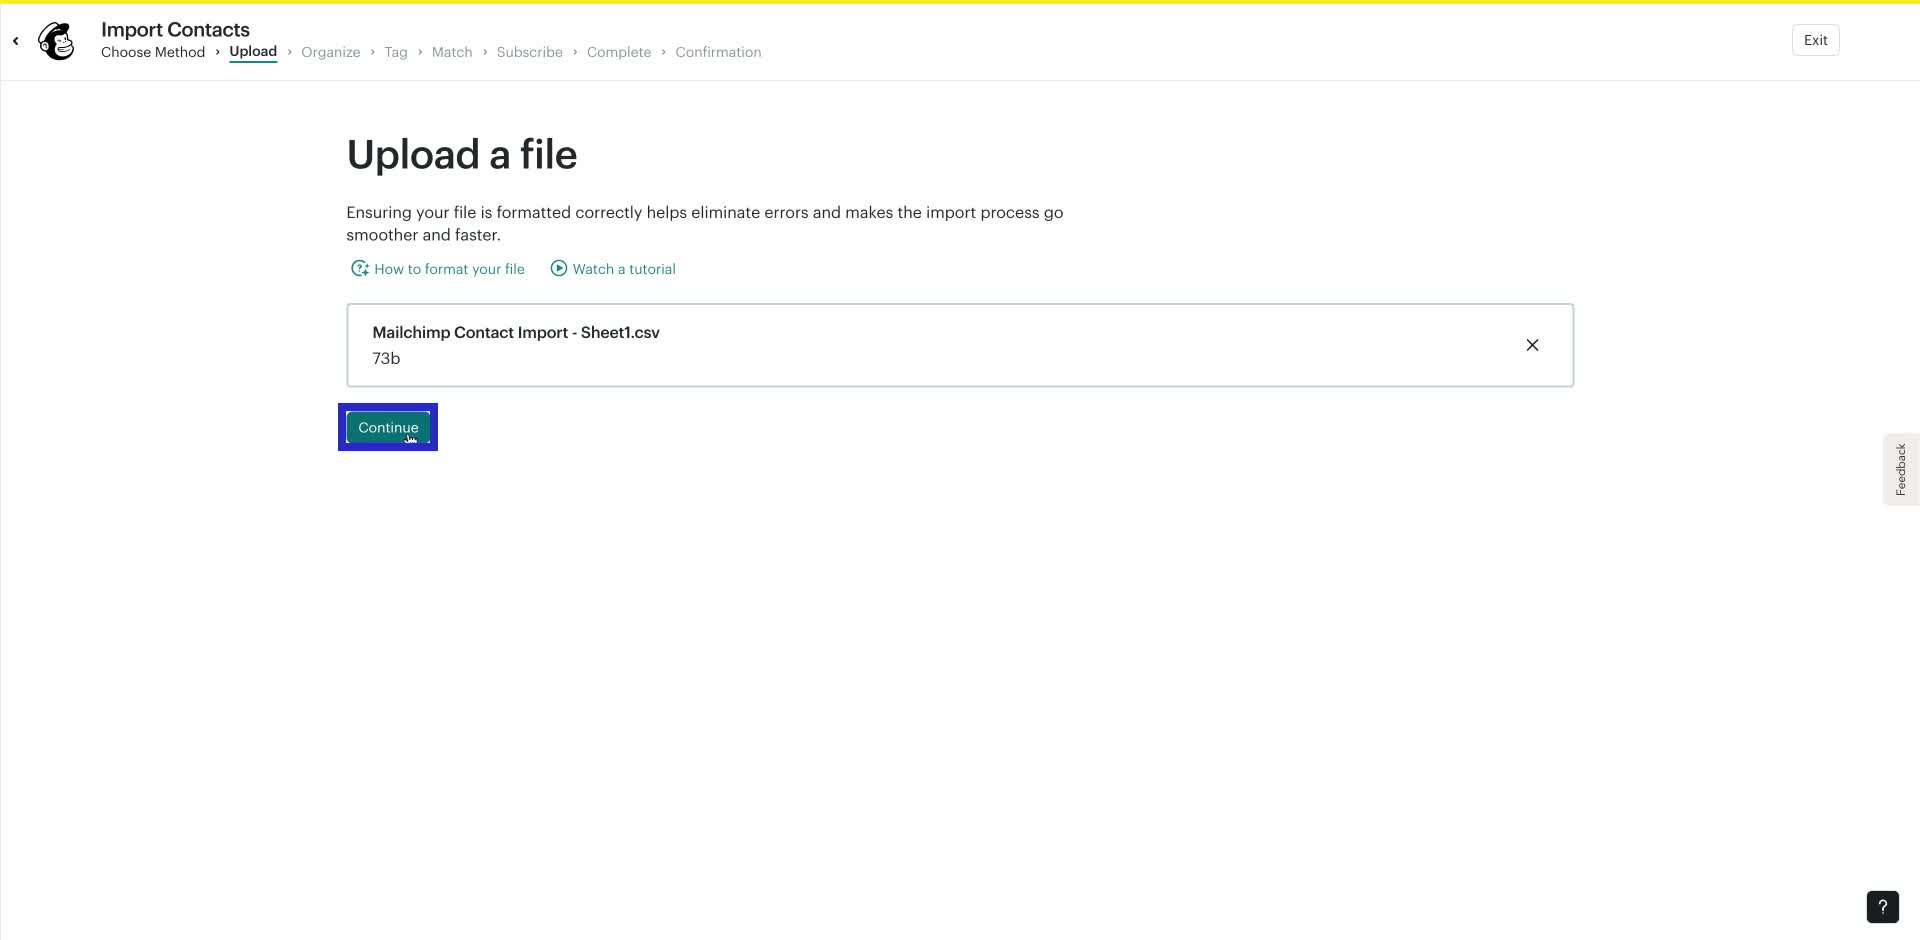
3. Choose the "Upload a file" option.

4. Click "Continue" after uploading your file.
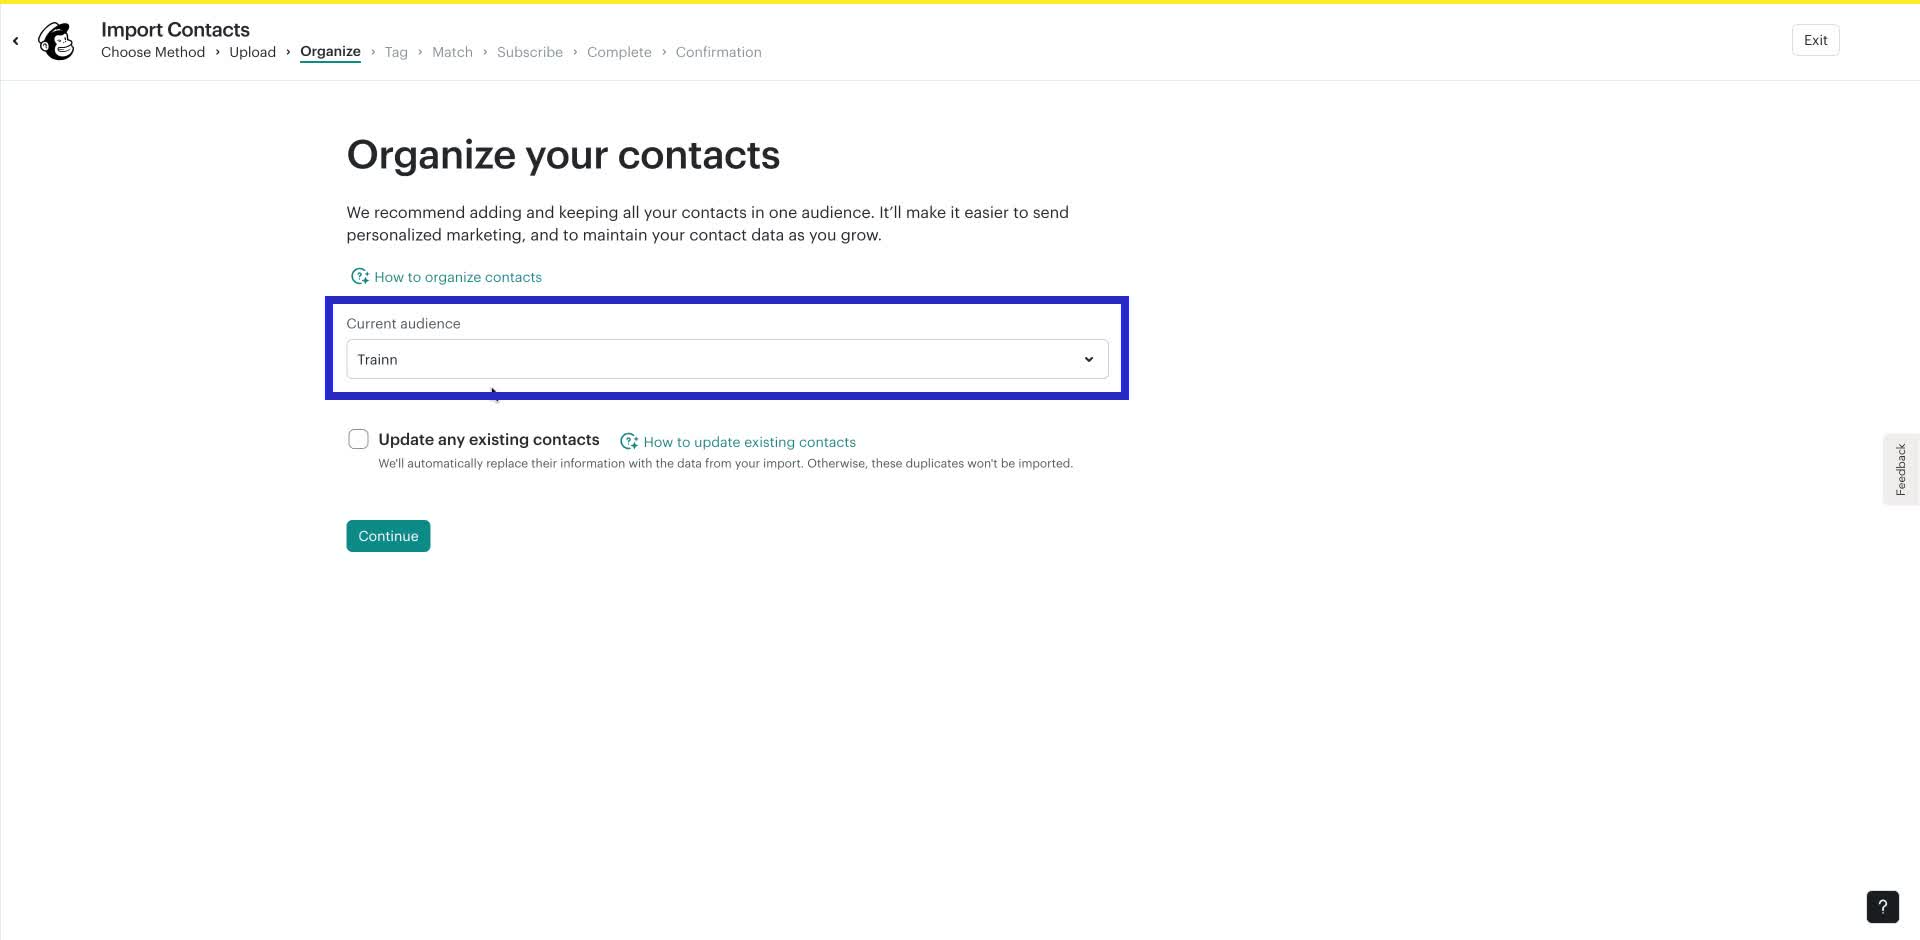
5. Choose your desired "Audience".
6. Tick the checkbox to replace duplicates with updated information.
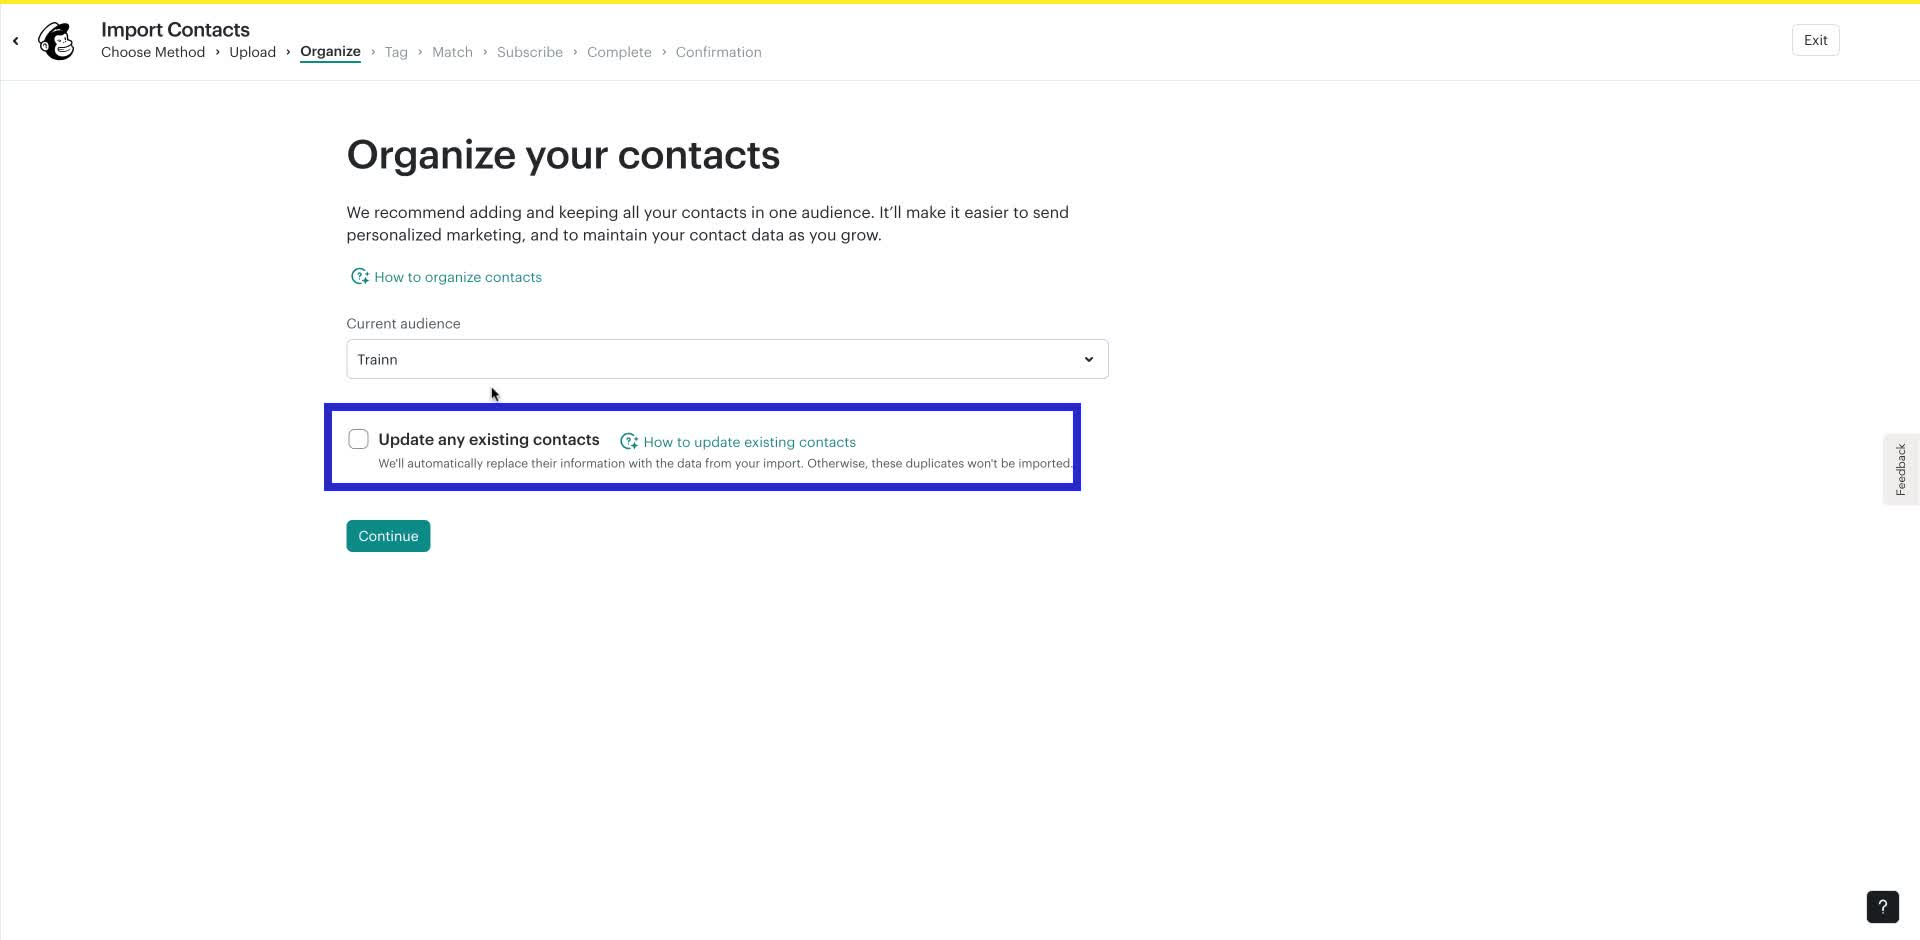
7. Click the "Continue" button.

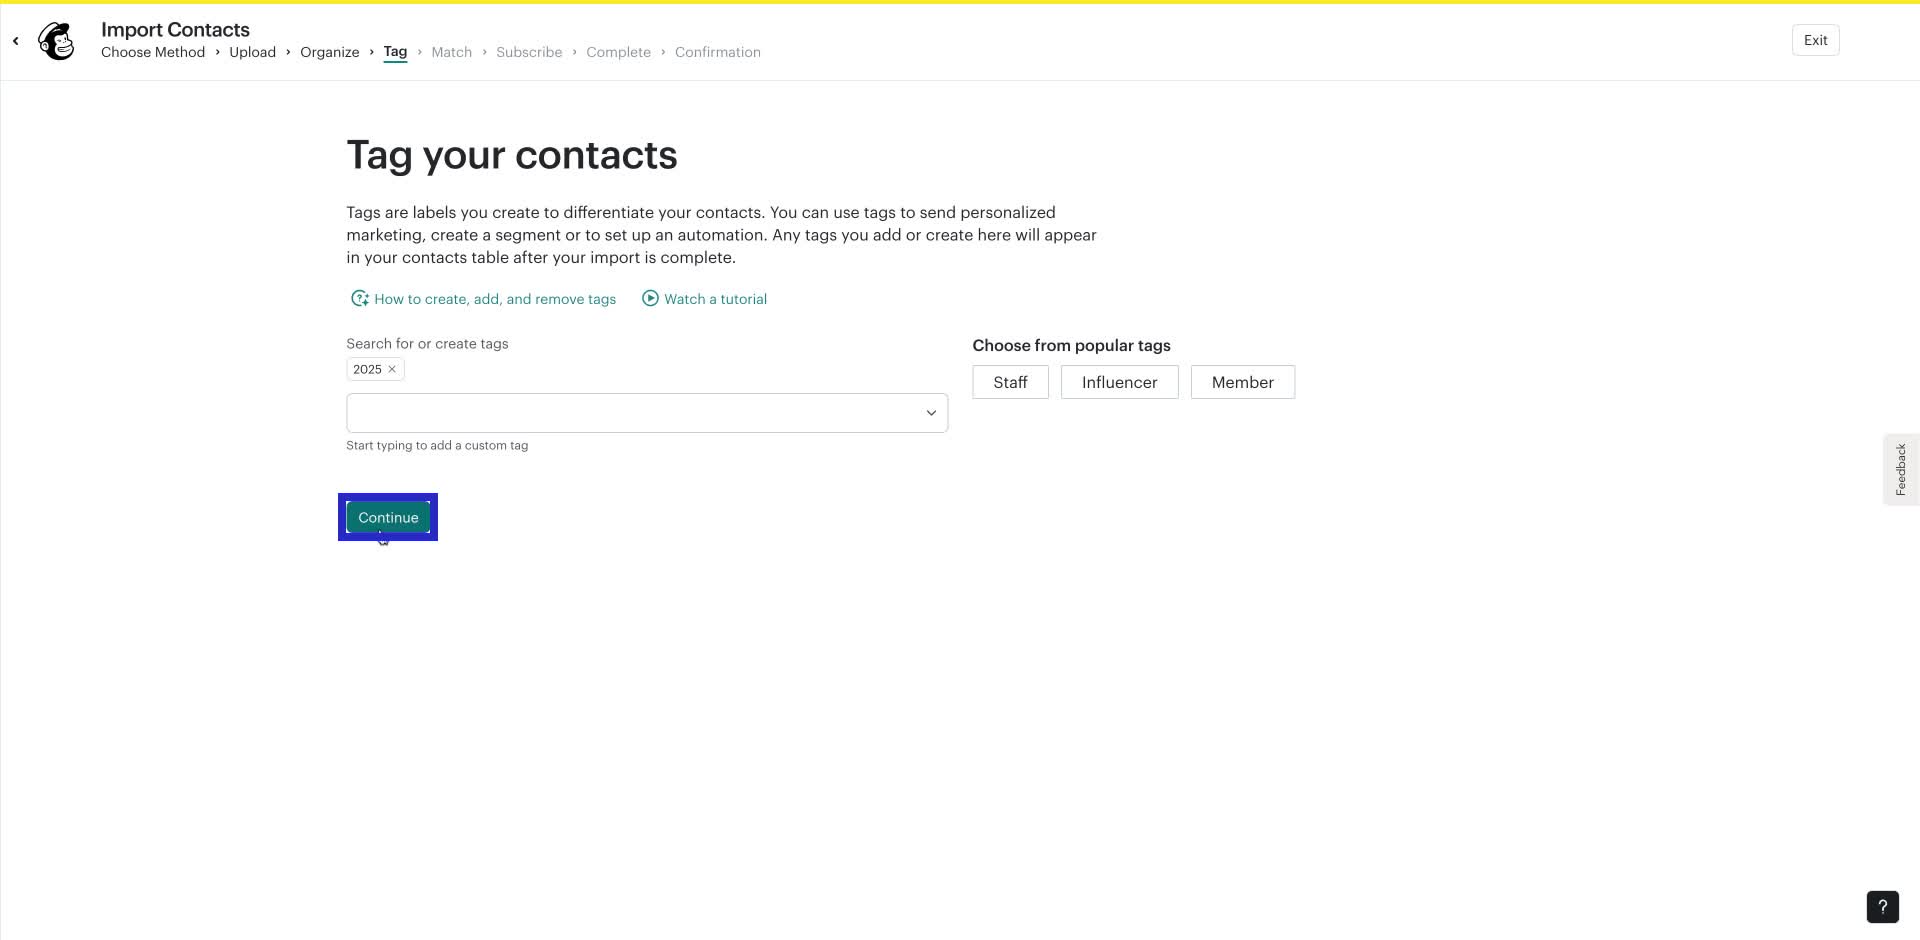
8. Add your desired tags for the contacts.
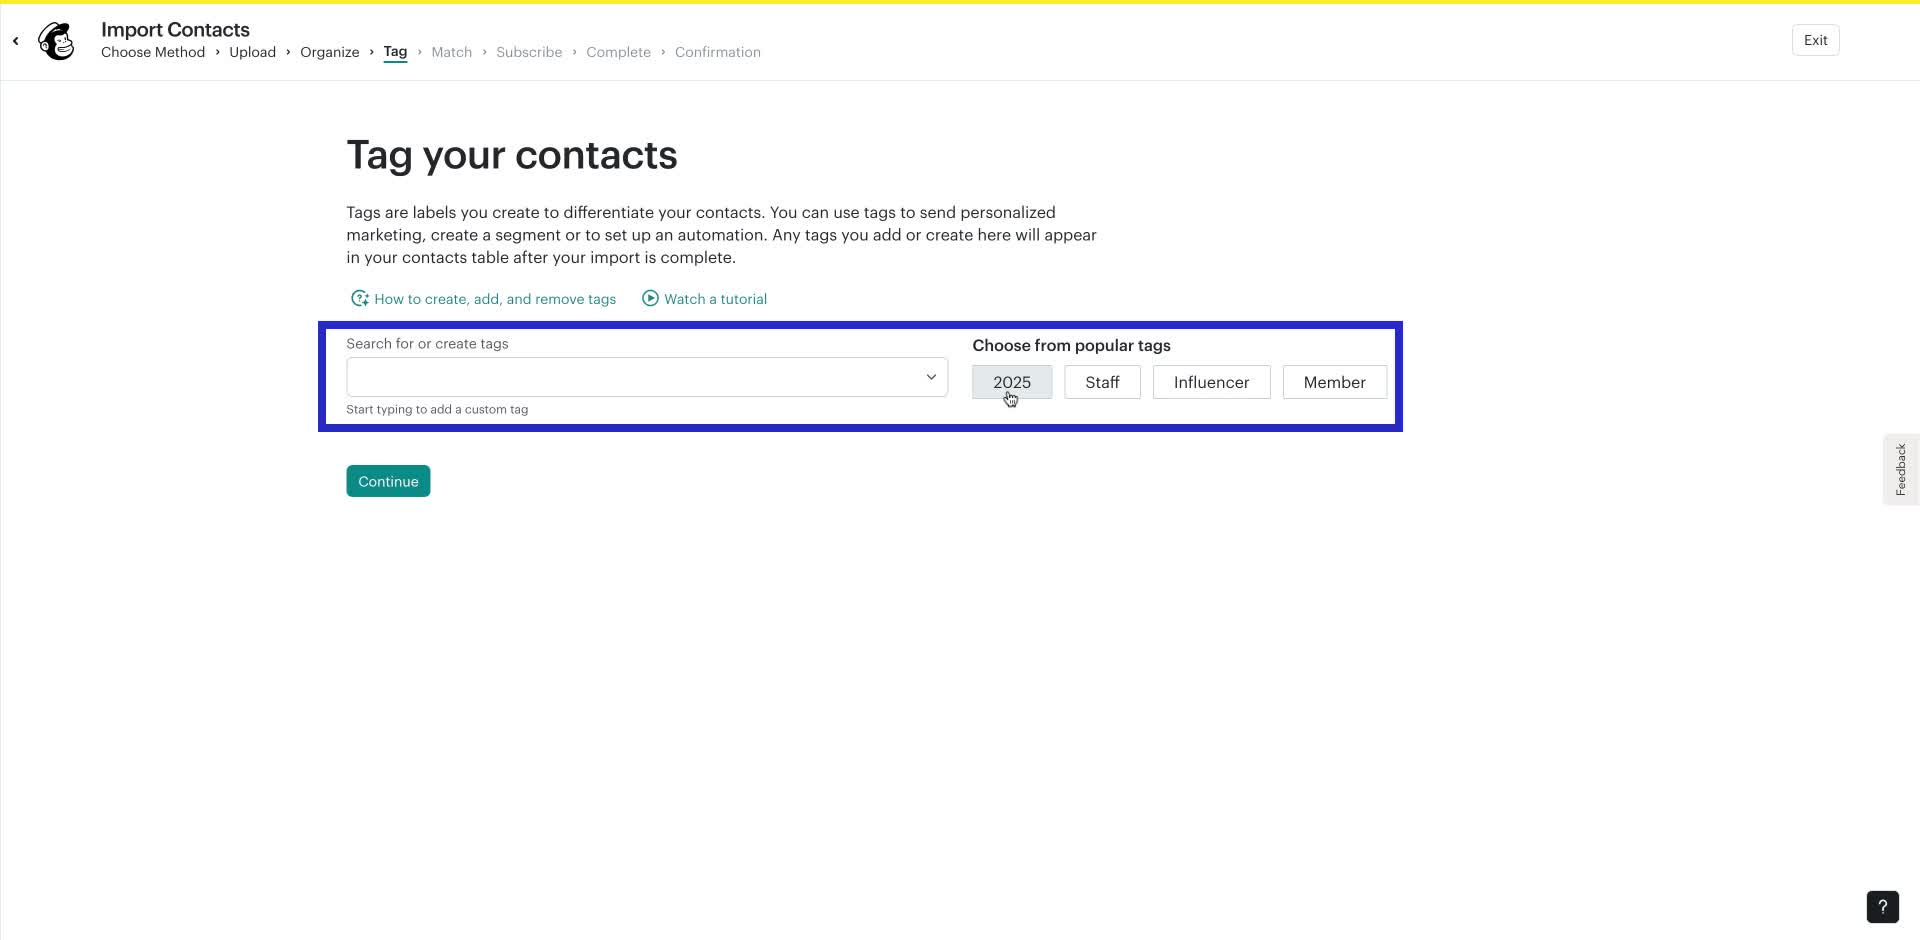
9. Click the "Continue" button.
10. Ensure all columns are correctly matched in the import section.
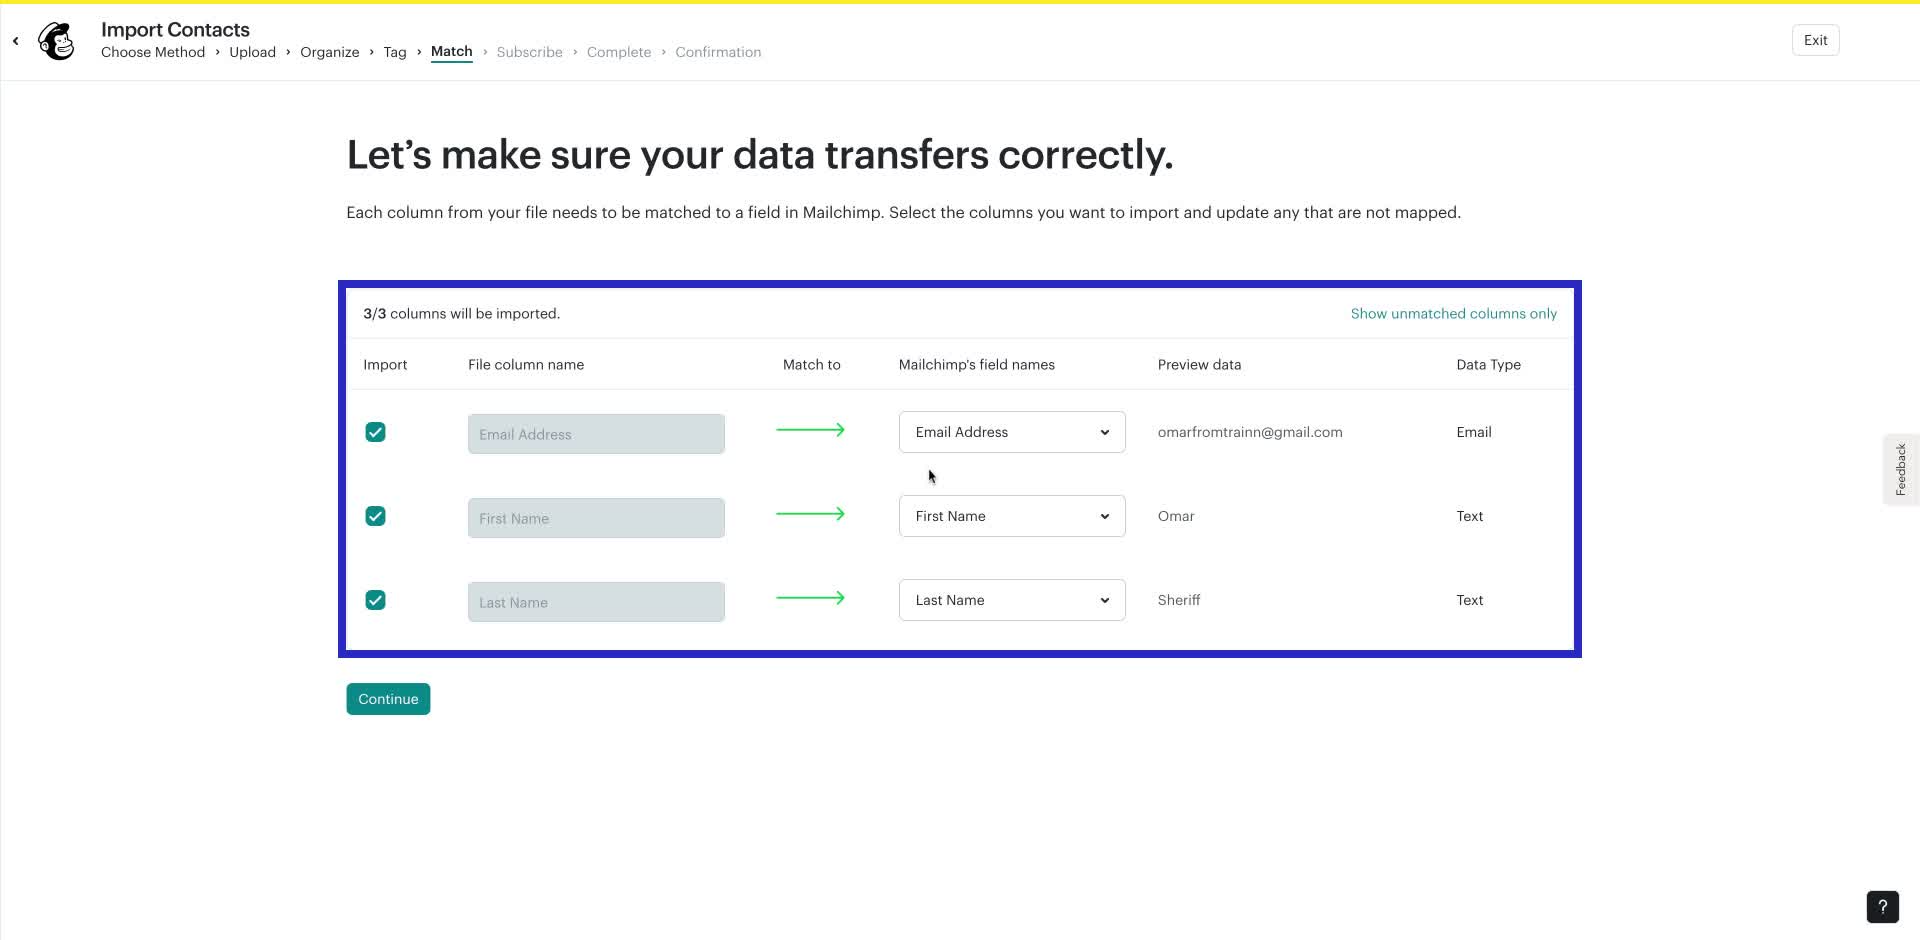
11. Click the "Continue" button to proceed.

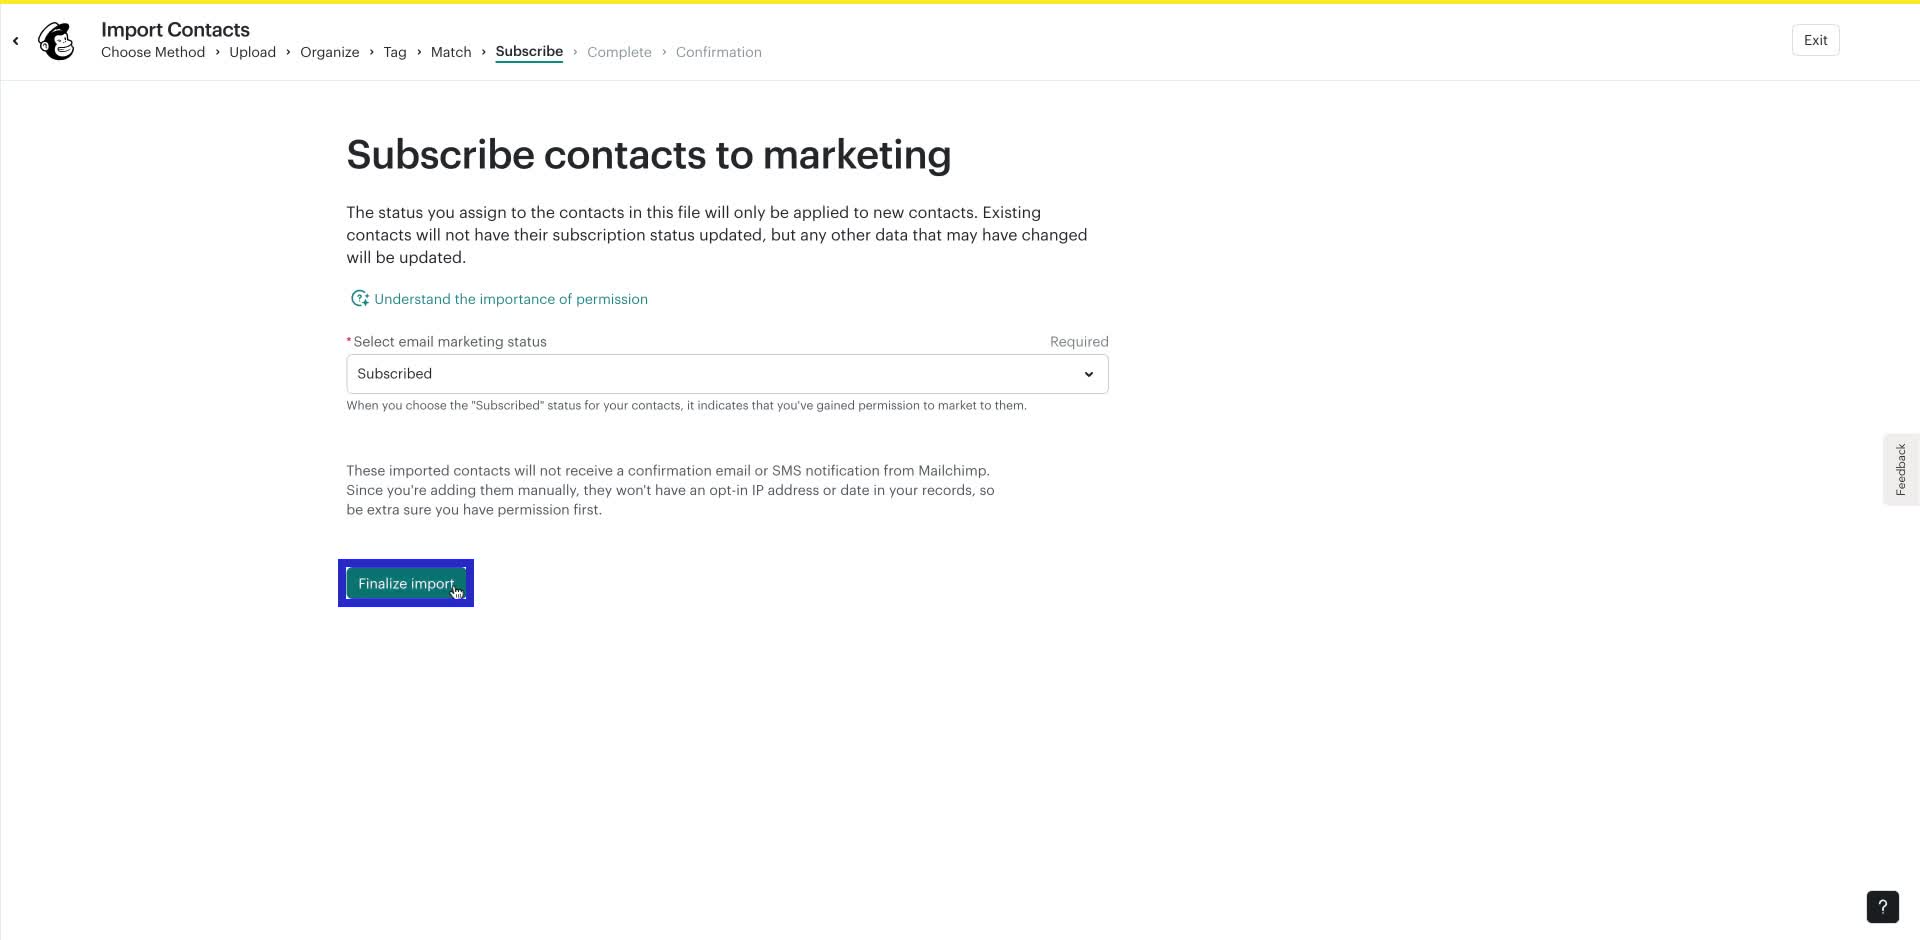
12. In the subscription modal, choose the desired email marketing status for the contacts.

13. Click "Finalize import" to complete the process.
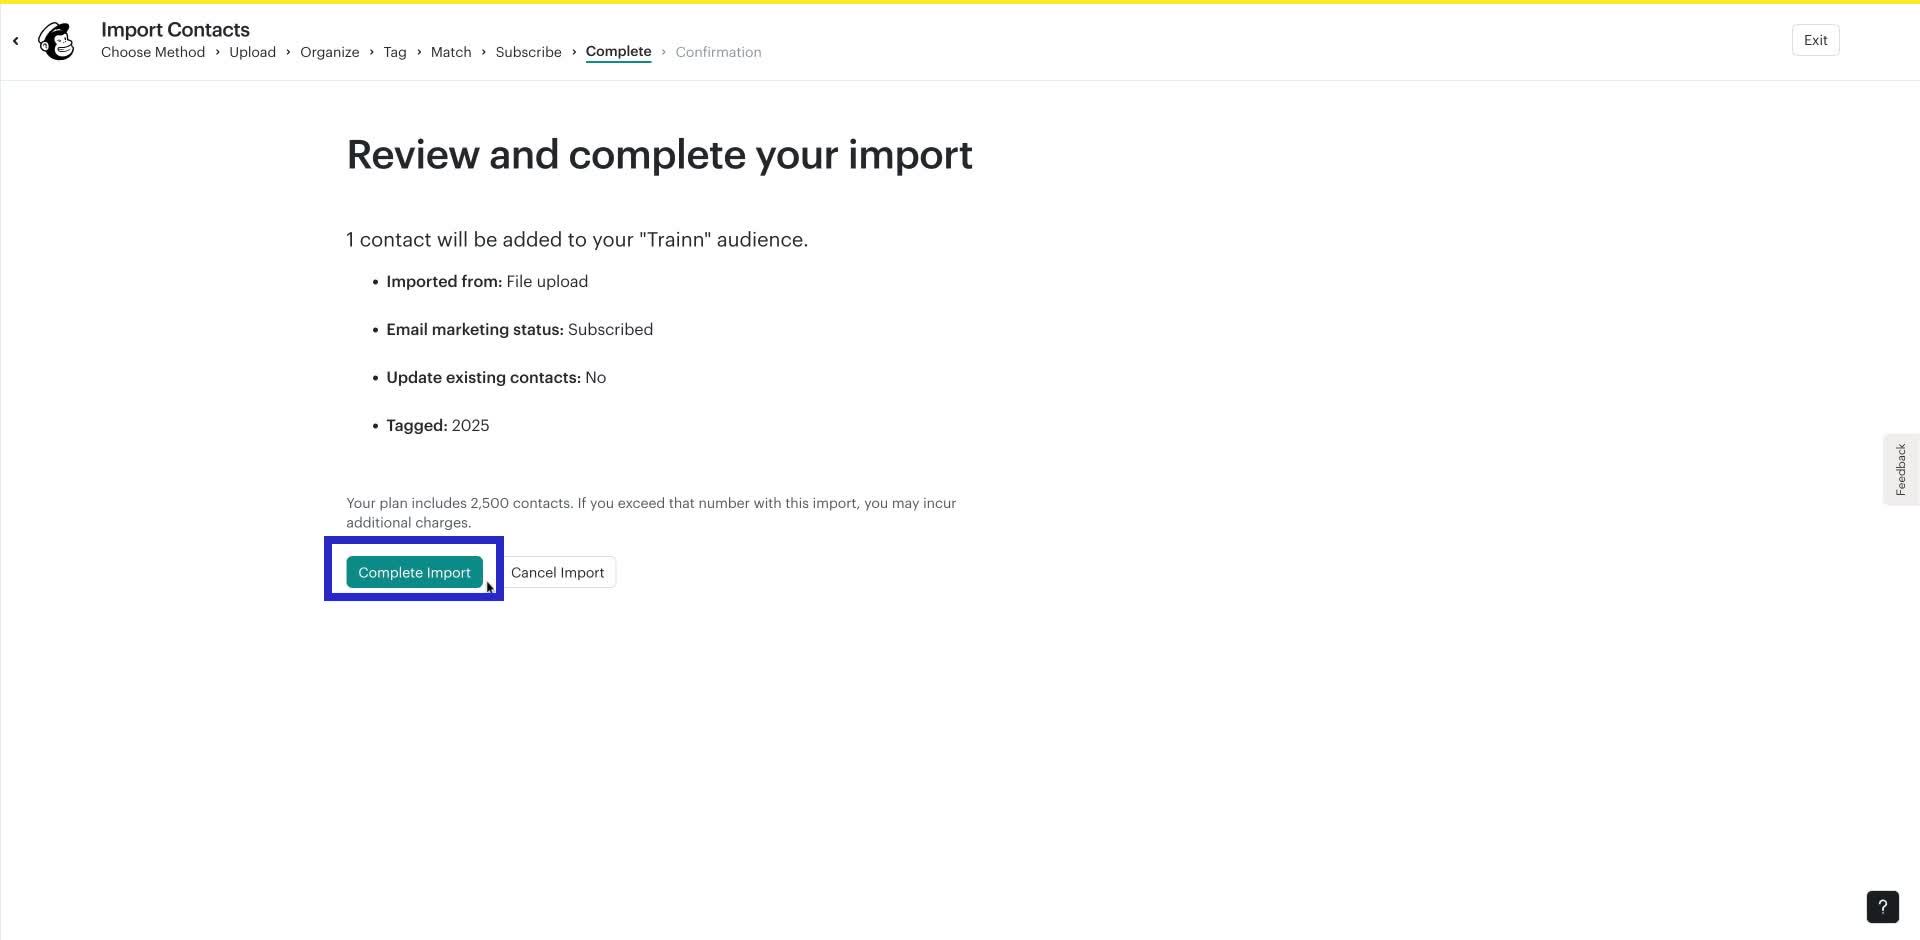
14. Click the "Complete Import" button to finalize adding the contact.
Congratulations! You have successfully imported contacts into Mailchimp!
Trainn is a customer education platform for SaaS companies that enables customer-facing teams to create product training content-such as videos and guides-and deliver it across knowledge bases, learning management systems (LMS), and in-app experiences to support onboarding, product adoption, and customer success at scale.
North Bethesda, Maryland 20852


