How to Auto-close Follow-Up Tickets in Zendesk?
Created with Trainn AI
Here’s a step by step tutorial on how to auto-close follow-up tickets in Zendesk:
1. First, create a tag for your follow-up tickets so that automations can recognize them as follow-ups.

2. To set up automations, go to settings.

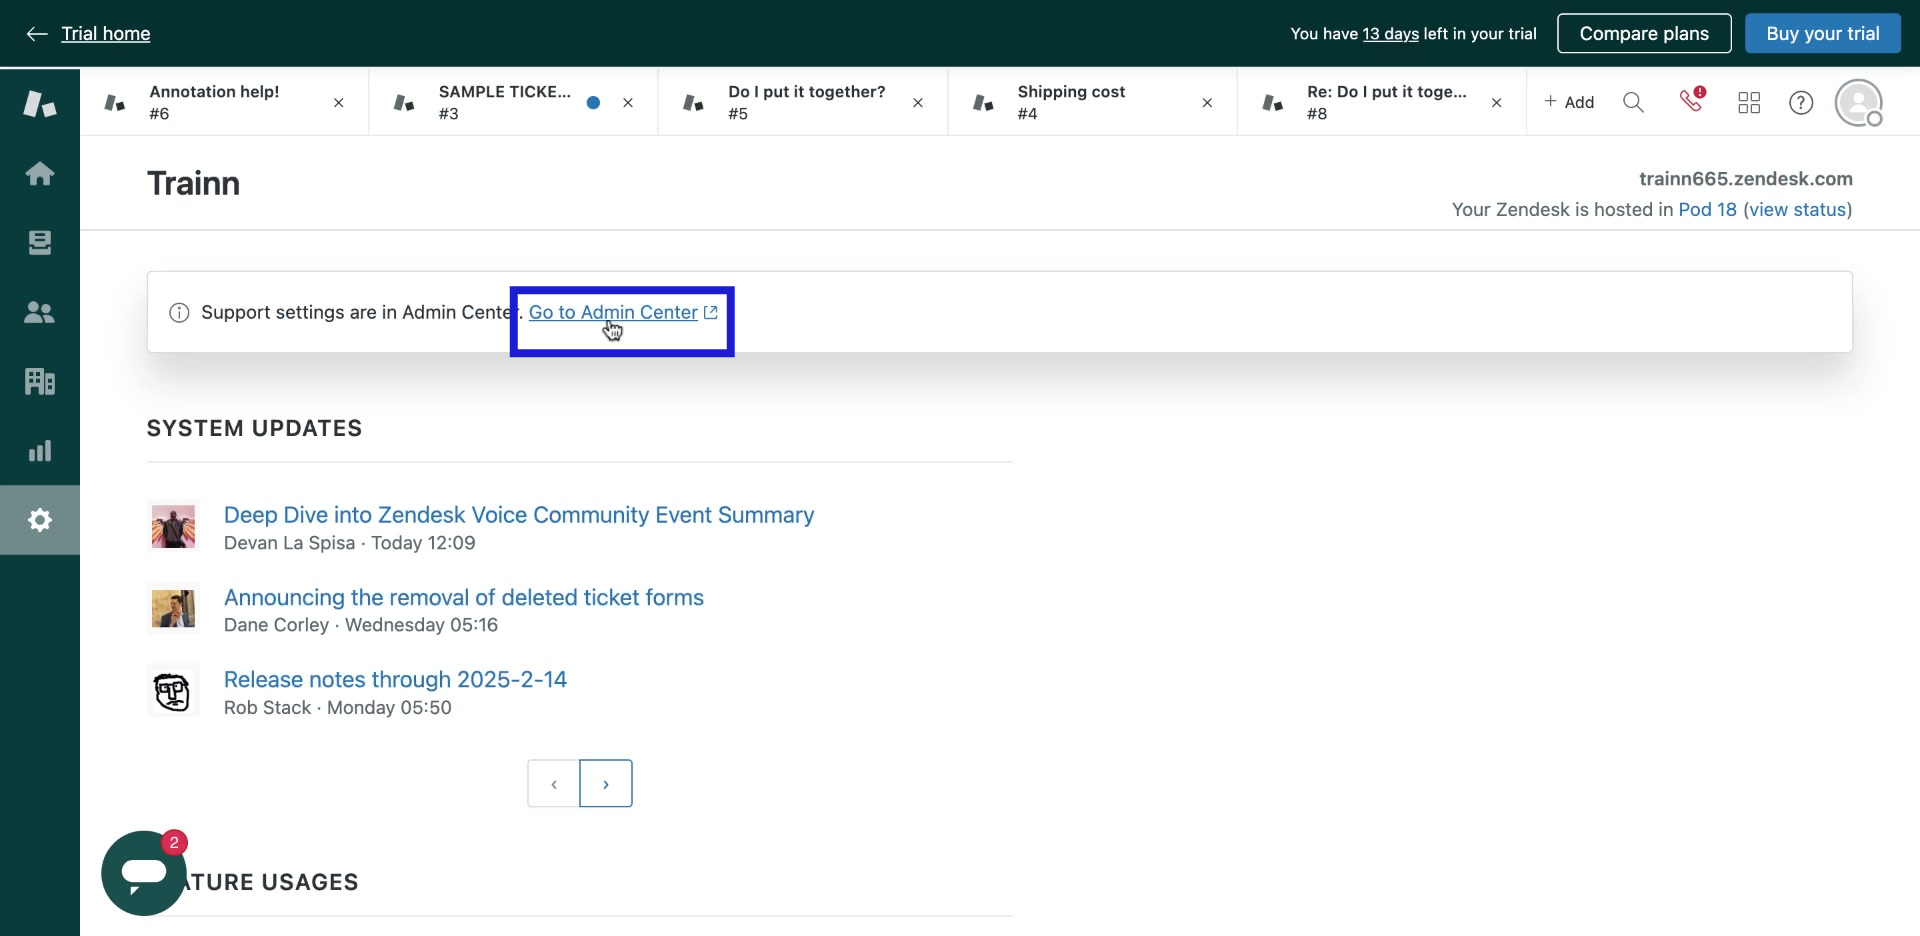
3. Click on "Go to Admin Center" in the notification bar.
4. In the Admin Center, click on "Objects and rules" in the sidebar.

5. Under "Business rules", click on "Automations".

6. Click the "Add automation" button on the Automations page.

7. Enter the automation title called "Auto-Close Follow up Tickets".

8. Set "Ticket Tag" as "Followup_ticket". This means the condition will only activate, if the tag is present.

9. Set the "Ticket Status" as "Solved". This means only Follow_up tickets which were marked as "Solved" will be considered by the automation.

10. Setup automation to trigger at a suitable time.

11. Set action as "Ticket Category" equal to "Closed".

12. Now click on "Submit".

13. Your automation is successfuly set. The follow-up ticket will automatically be closed when it meets all the pre-set conditions.

14. Once the trigger is accepted, the follow-up ticket will be closed.

Congratulations! You just learnt how to auto-close follow-up tickets in Zendesk using automations.
Trainn is a customer education platform for SaaS companies that enables customer-facing teams to create product training content-such as videos and guides-and deliver it across knowledge bases, learning management systems (LMS), and in-app experiences to support onboarding, product adoption, and customer success at scale.
North Bethesda, Maryland 20852


