
Published on: 29 Jun , 2023
How to Record Video and Audio From the Screen?
On this page
In today's digital age, businesses are looking at new, engaging, and innovative ways to communicate with their workers and users. Of the options available, video content has emerged as a popular choice.
Businesses can use videos to create tutorials, product demos, how-to guides, and other types of videos that are engaging and informative. To create such videos, you'll need to include audio along with the visuals.
In this guide, we look at how to screen record with audio from video. We will cover what tools you need, the different methods available for recording, and tips on creating great videos.
Understanding the Importance of Screen Recording with Audio
Using audio alongside screen recordings adds immense value. It allows you to explain concepts, give instructions, and engage viewers more effectively. Whether you want to guide your workers through software training or showcase a new product to users, audio-enhanced screen recording brings your content to life.
Once you understand the importance of audio in screen recordings, it’s time to look at the tools and methods available for recording. We will go through these step-by-step.
Selecting the Right Screen Recording Tool
The first step is to choose a screen recording tool that meets your needs. There are many options out there, so consider what you need before making a decision. Here are some things to consider:
User-Friendliness: If you’re not tech-savvy, look for an easy-to-use tool that needs minimal setup and comes with helpful tutorials.
Audio Quality: Make sure the screen recording software has additional features like audio editing and noise reduction to ensure high-quality sound.
Ease of Editing: You should look for a tool that allows you to quickly and easily edit your recordings after you’ve finished recording.
Setting Up Your Recording Environment
Before you record audio from a screen, it's vital to ensure your recording environment is optimized for high-quality audio. Follow these steps to prepare:
1. Choose a quiet location: Find a quiet room or area where you can record without background noise or distractions.
2. Use a good quality microphone: Invest in a reliable microphone that captures clear spoken and system audio. USB microphones are often a popular choice for external recording due to their ease of use and affordability.
3. Test your microphone: Before starting the recording, test your microphone to make sure it's working properly. Adjust the input levels to avoid distortion or low volume issues.
Configuring Your Screen Recording Software
Once you have selected and installed your preferred screen recording software, it's time to configure the settings to record both video and audio. Depending on the system and software, the process to capture your screen and audio may be slightly different. That being said, here is a general guide to screen record on Mac or Windows devices.
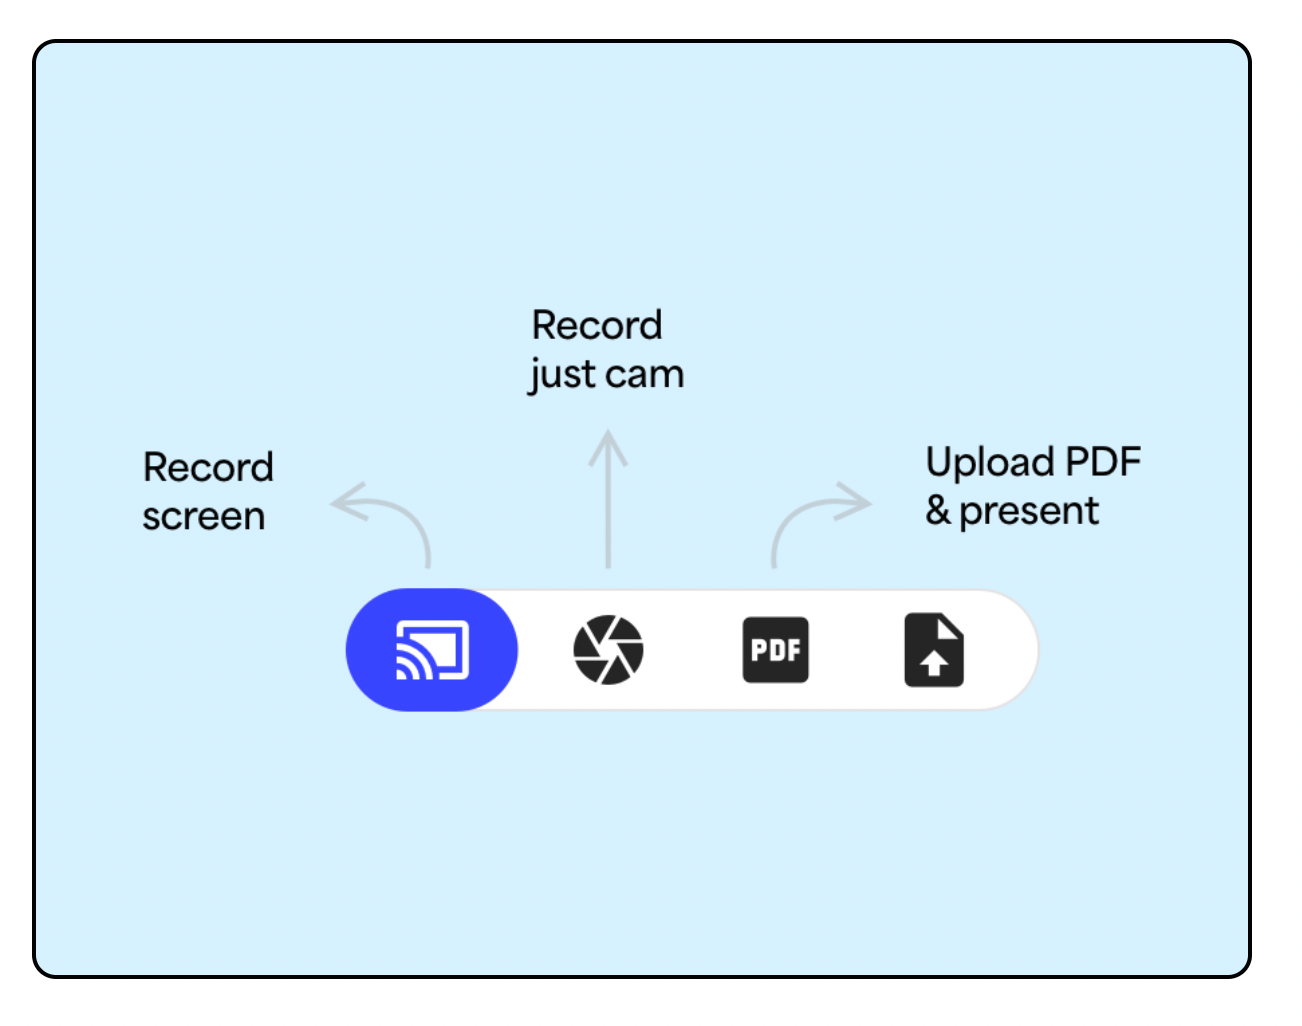
1. Open the software: Launch your chosen screen recording software. Familiarize yourself with its interface. Zing by Trainn is very simple when it comes to recording your screen. Once you download and attach the Chrome extension, you're just a click of a button away from recording.
2. Select audio input: Look for the audio settings and choose the correct input source. This is usually your microphone. You can also choose to record with sound from the system. Make sure the software is set to record audio from your chosen source.
3. Adjust audio settings: Configure the audio settings according to your needs. You may want to adjust volume levels, enable noise cancellation, or choose a specific format. Check advanced features and settings for more control.
Recording Your Screen with Audio
With the setup complete, it's time to start recording your computer screen with audio. Follow these steps to make sure a successful recording:
1. Define your recording area: Many screen recording software allows you to select a specific part of your screen to record. Choose the area that will capture the necessary visuals.
2. Check audio levels: Before you begin, check that your microphone is working properly and the audio levels are optimal. Make adjustments if needed.
3. Start recording: Click the record button in your screen recording software to begin the capture process. Perform your actions on the screen while speaking or explaining the content at the same time.
4. Check audio quality: Keep an eye on the audio waveform or levels while recording to ensure the sound is clear and balanced. Avoid sudden spikes or excessive background noise.
5. End the recording: Once you have finished the desired content, stop the recording. Review the captured video and audio to confirm everything is as planned.
Post-Recording Editing and Sharing
After finishing the recording, you may want to do some editing to refine your video. Trim any unwanted sections, add captions or annotations, and adjust audio levels if required.
Many software options include built-in editing features. But you can also use dedicated video editing software for more advanced editing needs.
With Zing by Trainn you get an all-in-one product with video recording and editing. You can use auto-zooms to AI voice overs. You can also invite your entire team to check out the videos.
Once you are satisfied with the final product, export the video in the desired format. Share it with your target audience. Trainn also provides you an option to host and share your videos easily. This ensures easy distribution.
Screen recording with audio is a powerful tool for businesses looking to create engaging and informative videos. By following the above steps, you can record your screen with sound, capture audio from your screen, and create content that effectively communicates with your workers and customers.
Remember to select the right software, configure your recording settings, and optimize your audio environment to achieve the best results. Embrace the world of screen and voice recording to unlock the full potential of your video content!
Check out Zing by Trainn - The world’s most powerful and easiest video creation tool. It lets you record, edit and share videos quickly and easily. With Zing, you can create engaging video screencasts with audio recording capabilities in just minutes! Try it today to see how easy it is to make amazing videos!
Ready to Trainn your customers?
- Create videos & guides
- Setup Knowledge Base
- Launch an Academy
HANDPICKED FOR YOU

Elevate Your Corporate Videos with 7 Captivating Strategies and Real-life Examples (2024)

How to Make an Instructional Video for a Better Customer Experience

Why Training Videos for SaaS Businesses are Crucial and How to Make One
Trainn is a customer education platform for SaaS companies that enables customer-facing teams to create product training content-such as videos and guides-and deliver it across knowledge bases, learning management systems (LMS), and in-app experiences to support onboarding, product adoption, and customer success at scale.
North Bethesda, Maryland 20852


