How to Create a New View on Zendesk?
Created with Trainn AI
Here’s a step by step tutorial on how to create a new view on Zendesk:
1. Go to Admin center, and click on "Workspace", in the navigation bar.

2. Click on "Views" in Agent tools.

3. Click on "Add view" to create a new view.

4. Enter a title to the View in the blank field.

5. Select access options from the dropdown menu in the "Access" field.

6. In the Conditions section, set the conditions for the tickets to appear in the view.

7. In the first section, you can add tickets that meets all conditions. Click on "Add condition" to start adding.

8. Open dropdown to view and select your required ticket condition.
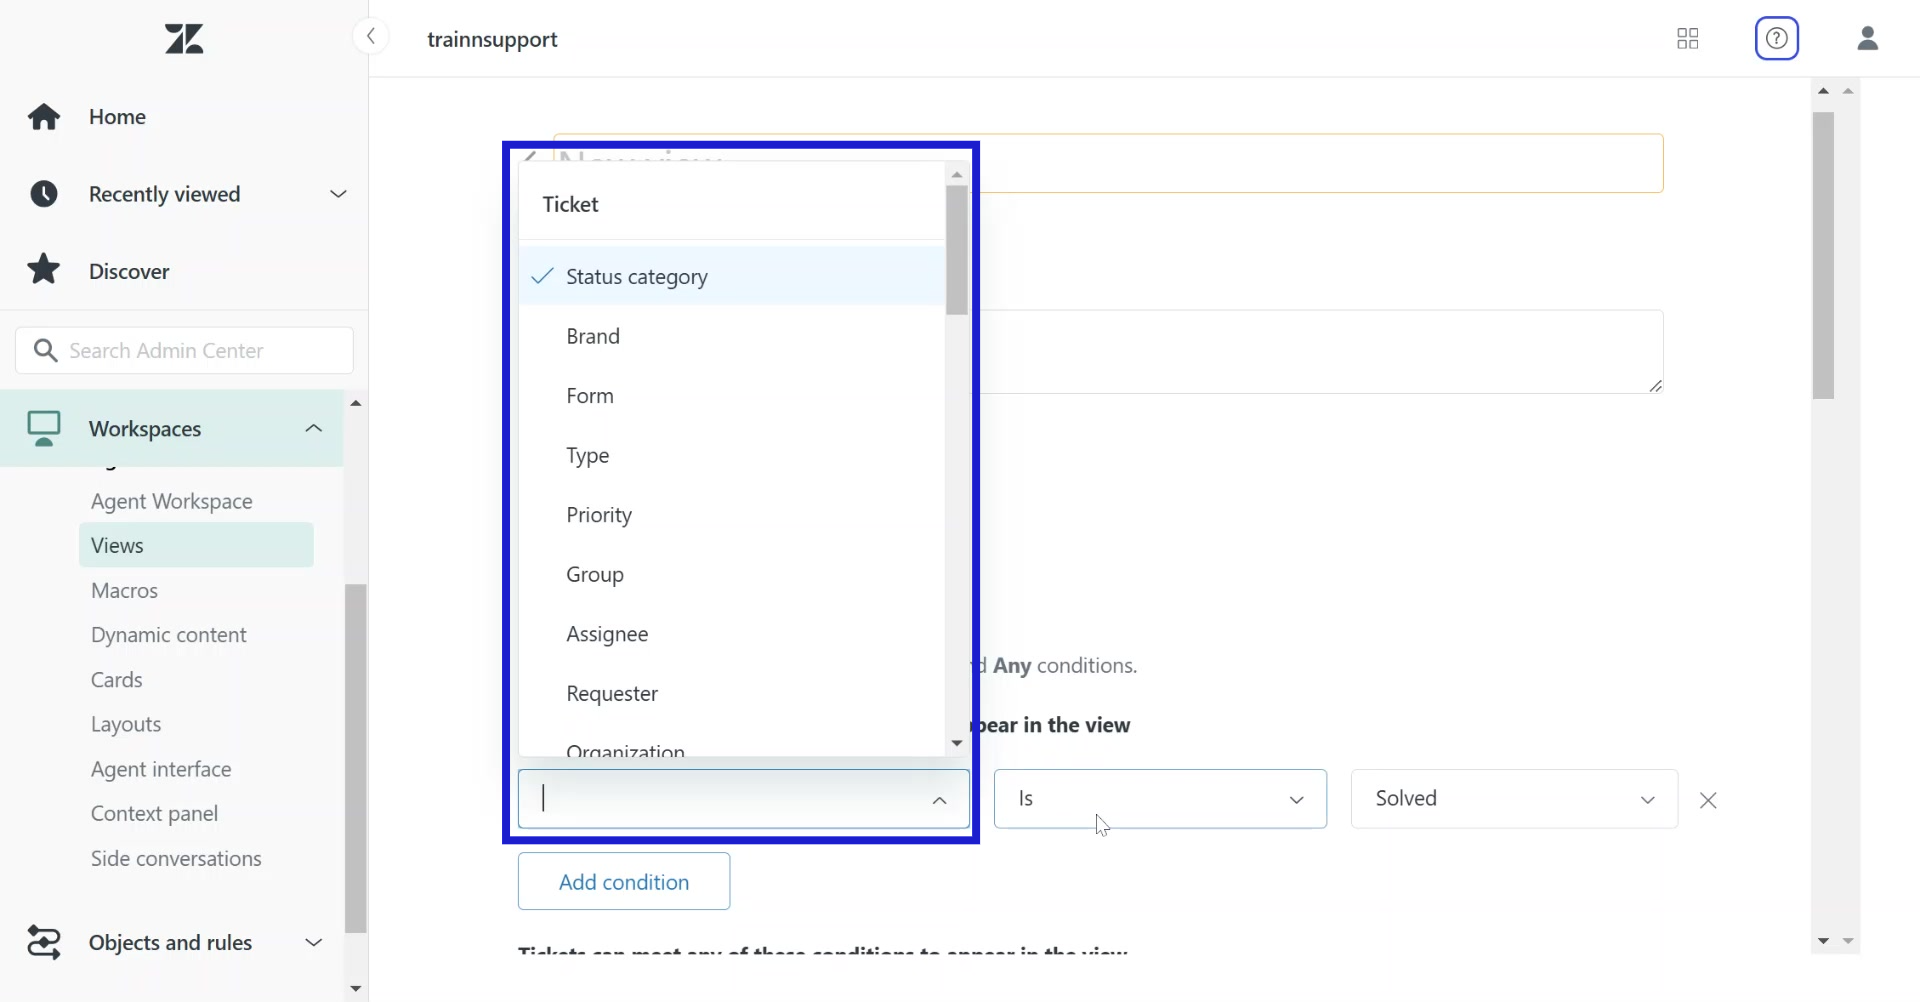
9. Next, select the values for each condition. For example, we have selected Status of ticket = solved.

10. In this second section, you can add tickets that meets any of your conditions. Click "Add condition" to start adding.

11. Similarly, select your conditions and their values from the following dropdown menu.

11. Click on "Preview" to check filtered view of tickets.

12. Click and drag the column options to reorder (If required).

13. Click on "Add column" to add additional columns (if required).

14. Click on "Save" to save the filtered view.

Congratulations! You have successfully created a new view on Zendesk.
Trainn is a customer education platform for SaaS companies that enables customer-facing teams to create product training content-such as videos and guides-and deliver it across knowledge bases, learning management systems (LMS), and in-app experiences to support onboarding, product adoption, and customer success at scale.
North Bethesda, Maryland 20852


