How to Export Tickets from Zendesk?
Created with Trainn AI
Here’s a step by step tutorial on how to export tickets from Zendesk:
1. In the navigation bar, click on the "Zendesk Explore" option.

2. Click the "Take me to Explore" button at the bottom of the page.

3. In the top right corner, click on "Create dashboard".

4. In the modal, click the "Select" button for the Blank dashboard option.
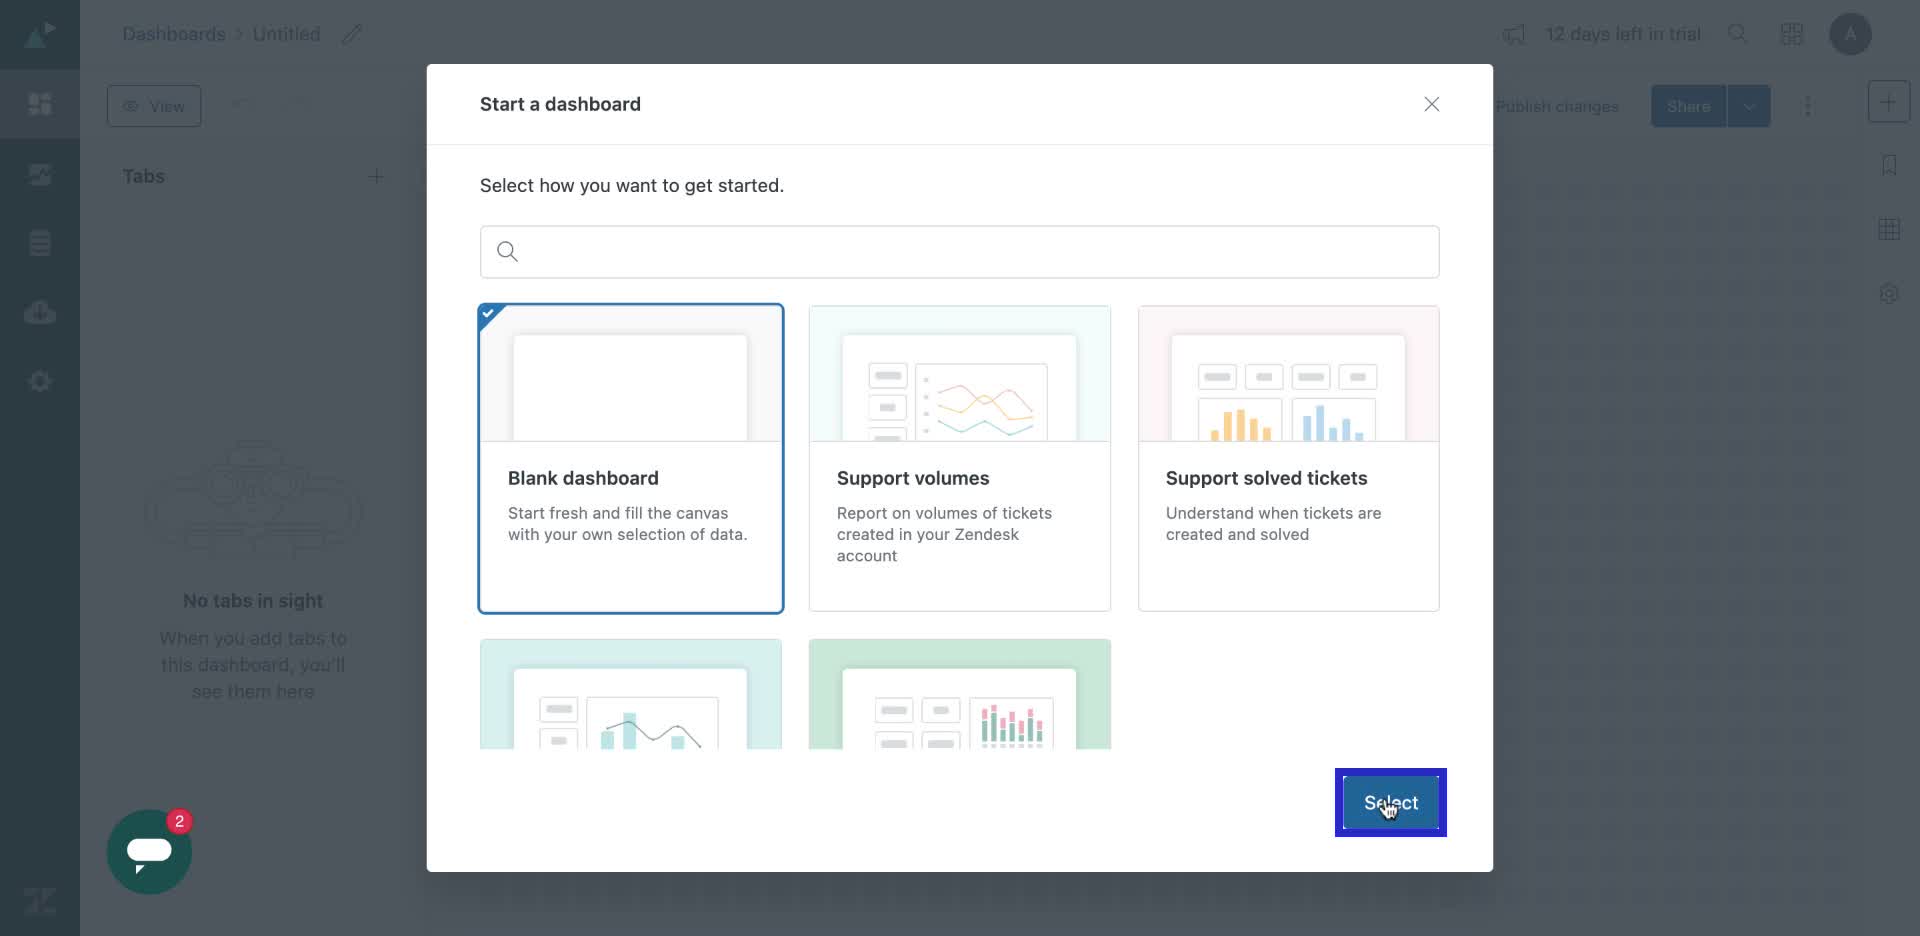
5. Now let's start adding items to create our dashboard.

6. Click on "Report" in the sidebar to add it to the dashboard.

7. In the Reports modal, click on the search bar.

8. Type "ticket" in the search bar and select ticket data you want to add to your dashboard.

9. Click the export icon labeled "Export dashboard" at the top.

10. In the modal, click the "Export dashboard" button.

11. Let's rename our dashboard.

12. Enter "Ticket Export" in the text field and click "Save" to update the dashboard name.

13. You can edit, modify or add reports anytime by finding your dashboard in the menu options.

Congratulations! You have successfully learnt how to export tickets from Zendesk by creating dashboards.
Trainn is a customer education platform for SaaS companies that enables customer-facing teams to create product training content-such as videos and guides-and deliver it across knowledge bases, learning management systems (LMS), and in-app experiences to support onboarding, product adoption, and customer success at scale.
North Bethesda, Maryland 20852


