How to Set a SLA Policy in Zendesk?
Created with Trainn AI
Here’s a step-by-step tutorial on how to set a SLA policy in Zendesk:
1. Go to Admin Center, and click on "Objects and rules" in the navigation bar.

2. Scroll down to Business rules, and select "Service Level Agreements".

3. Click on "Create policy" to start creating a new policy.

4. Enter a title to the policy in the "Policy name" field.
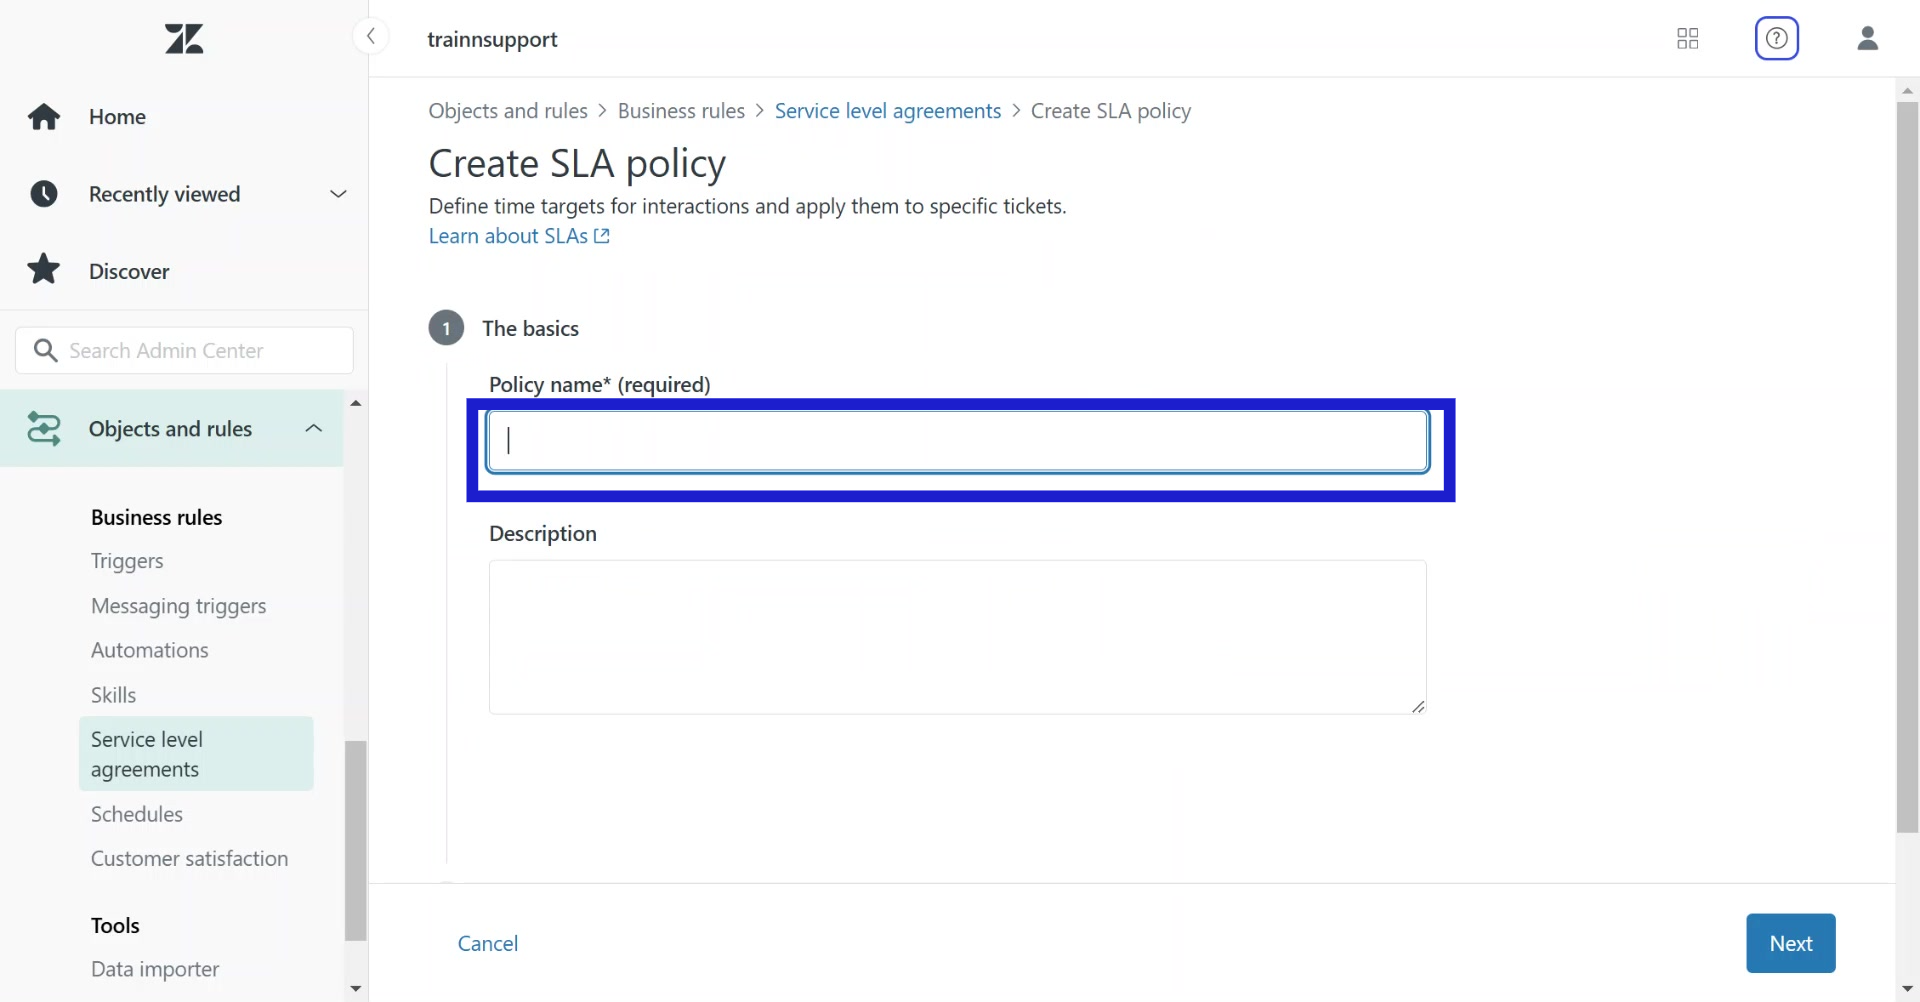
5. Click on "Next" at the bottom right to proceed.

6. Click on "Add conditions" to set conditions that tickets must meet for the policy from the dropdown menu.

7. After conditions are set for the policy, click on "Next" to proceed.

8. In SLA metrics section, set time targets for Reply, Update and resolution metrics.

9. Click on "Add target" to set time for the preferred metrics.

10. In the following modal that appears, enter the target in the provided fields.

11. Once metrics are defined for each metric, click on "Add" to include the same in the policy.

12. After setting your conditions and targets for the policy, click on "Save policy" to update your policy.

Congratulations! You have successfully created a SLA policy in Zendesk.
Trainn is a customer education platform for SaaS companies that enables customer-facing teams to create product training content-such as videos and guides-and deliver it across knowledge bases, learning management systems (LMS), and in-app experiences to support onboarding, product adoption, and customer success at scale.
North Bethesda, Maryland 20852


